Easy PostgreSQL 12 and pgAdmin 4 Setup with Docker
Jonathan S. Katz
8 min readMore by this author
When I first started working with PostgreSQL and containers, one of the first items presented to me was a recipe to get PostgreSQL 10 setup with pgAdmin 4 using Docker, which was over two years ago. Quite a bit has changed in the ecosystem since then, including PostgreSQL itself! As such, it felt like it was time to update the recipe and work through some new examples. Much like before, there's a "tl;dr" if you do not wish to read through my ramblings, but a more in depth explanation thereafter coupled with examples.
tl;dr: Quick Setup for PostgreSQL 12 & pgAdmin 4
docker network create --driver bridge pgnetwork

cat << EOF > pg-env.list
PG_MODE=primary
PG_PRIMARY_USER=postgres
PG_PRIMARY_PASSWORD=datalake
PG_DATABASE=hippo
PG_USER=hippo
PG_PASSWORD=datalake
PG_ROOT_PASSWORD=datalake
PG_PRIMARY_PORT=5432
EOF

cat << EOF > pgadmin-env.list
PGADMIN_SETUP_EMAIL=hippo
PGADMIN_SETUP_PASSWORD=datalake
SERVER_PORT=5050
EOF

docker run --publish 5432:5432 \
  --volume=postgres:/pgdata \
  --env-file=pg-env.list \
  --name="postgres" \
  --hostname="postgres" \
  --network="pgnetwork" \
  --detach \
  registry.developers.crunchydata.com/crunchydata/crunchy-postgres:centos7-12.2-4.2.2

docker run --publish 5050:5050 \
  --volume=pgadmin4:/var/lib/pgadmin \
  --env-file=pgadmin-env.list \
  --name="pgadmin4" \
  --hostname="pgadmin4" \
  --network="pgnetwork" \
  --detach \
  registry.developers.crunchydata.com/crunchydata/crunchy-pgadmin4:centos7-12.2-4.2.2
The Longer Explanation for the Quick Setup
Docker is convenient for testing containers in a local environment, such as for development purposes, as it is pretty easy to setup and use, and this example will make use of that.
The first thing we need to do is prep our Docker environment. The key for making PostgreSQL 12 and pgAdmin 4 to work together in a Docker environment is to be able to put them on a common network. This can be accomplished by creating a bridge network that we will call "pgnetwork":
docker network create --driver bridge pgnetwork
We will see the magic of setting up the network in the final step of connecting our pgAdmin 4 container to the PostgreSQL 12 instance that we create.
Next, let's prepare the environments:
cat << EOF > pg-env.list
PG_MODE=primary
PG_PRIMARY_USER=postgres
PG_PRIMARY_PASSWORD=datalake
PG_DATABASE=hippo
PG_USER=hippo
PG_PASSWORD=datalake
PG_ROOT_PASSWORD=datalake
PG_PRIMARY_PORT=5432
EOF

cat << EOF > pgadmin-env.list
PGADMIN_SETUP_EMAIL=hippo
PGADMIN_SETUP_PASSWORD=datalake
SERVER_PORT=5050
EOF
These environmental variables set up the fundamental values to get the PostgreSQL 12 and pgAdmin 4 environments up and running. For the PostgreSQL container, these are the variables that you should note:
PG_MODE: This determines if the PostgreSQL container will boot up as a primary, which accepts changes to the data, or a replica, which can only accept read-only queriesPG_USER: This is the user we want to log in as. We've called this user hippoPG_PASSWORD: This is the password associated withPG_USER, which we have made datalakePG_DATABASE: This is the name of the database that is created as part of this PostgreSQL deployment. We've also called the database hippo
For the pgAdmin 4, the variables that you should note are:
PGADMIN_SETUP_EMAIL: This is the login for accessing pgAdmin 4. Though the name indicates that it could be an email address, it can actually be any value, so we opt to use hippoPGADMIN_SETUP_PASSWORD: This is the password for logging into pgAdmin 4. To keep things simple for this example, we've also opted for datalake
If you're running this example in an environment that does not support reading from an environmental variable file, you can specify each environmental variable on the command line when you use the docker run command, e.g.
docker run --publish 5432:5432 \
  -e PG_MODE=primary \
  -e PG_USER=hippo \ # etc.
We're ready to start the containers! You can instantiate the PostgreSQL 12 and pgAdmin 4 containers by running the following commands:
docker run --publish 5432:5432 \
  --volume=postgres:/pgdata \
  --env-file=pg-env.list \
  --name="postgres" \
  --hostname="postgres" \
  --network="pgnetwork" \
  --detach \
  registry.developers.crunchydata.com/crunchydata/crunchy-postgres:centos7-12.2-4.2.2

docker run --publish 5050:5050 \
  --volume=pgadmin4:/var/lib/pgadmin \
  --env-file=pgadmin-env.list \
  --name="pgadmin4" \
  --hostname="pgadmin4" \
  --network="pgnetwork" \
  --detach \
  registry.developers.crunchydata.com/crunchydata/crunchy-pgadmin4:centos7-12.2-4.2.2
Please give them a moment to startup. You can check on the status by using the docker ps command. While waiting for them to start up, let's explore a few of the command-line flags that were used:
--network: For both containers, we specified thepgnetworkbridge network. This ensures the containers will be visible to each other, and will allow for us to connect to the PostgreSQL instance from pgAdmin 4--hostname: This gives an identifiable hostname for each container. Keeping it simple, we selected postgres and pgadmin4 for the PostgreSQL 12 and pgAdmin 4 containers respectively--volume: This specifies the persistent volumes we want to store the data to. For PostgreSQL, this means the data that is stored as part of the database. pgAdmin 4 has a database that stores metadata around to managing its functionality. Using the format we specified, the volume is automatically created
Once the containers have booted, navigate your browser to http://localhost:5050, where you should see a screen similar to the below:
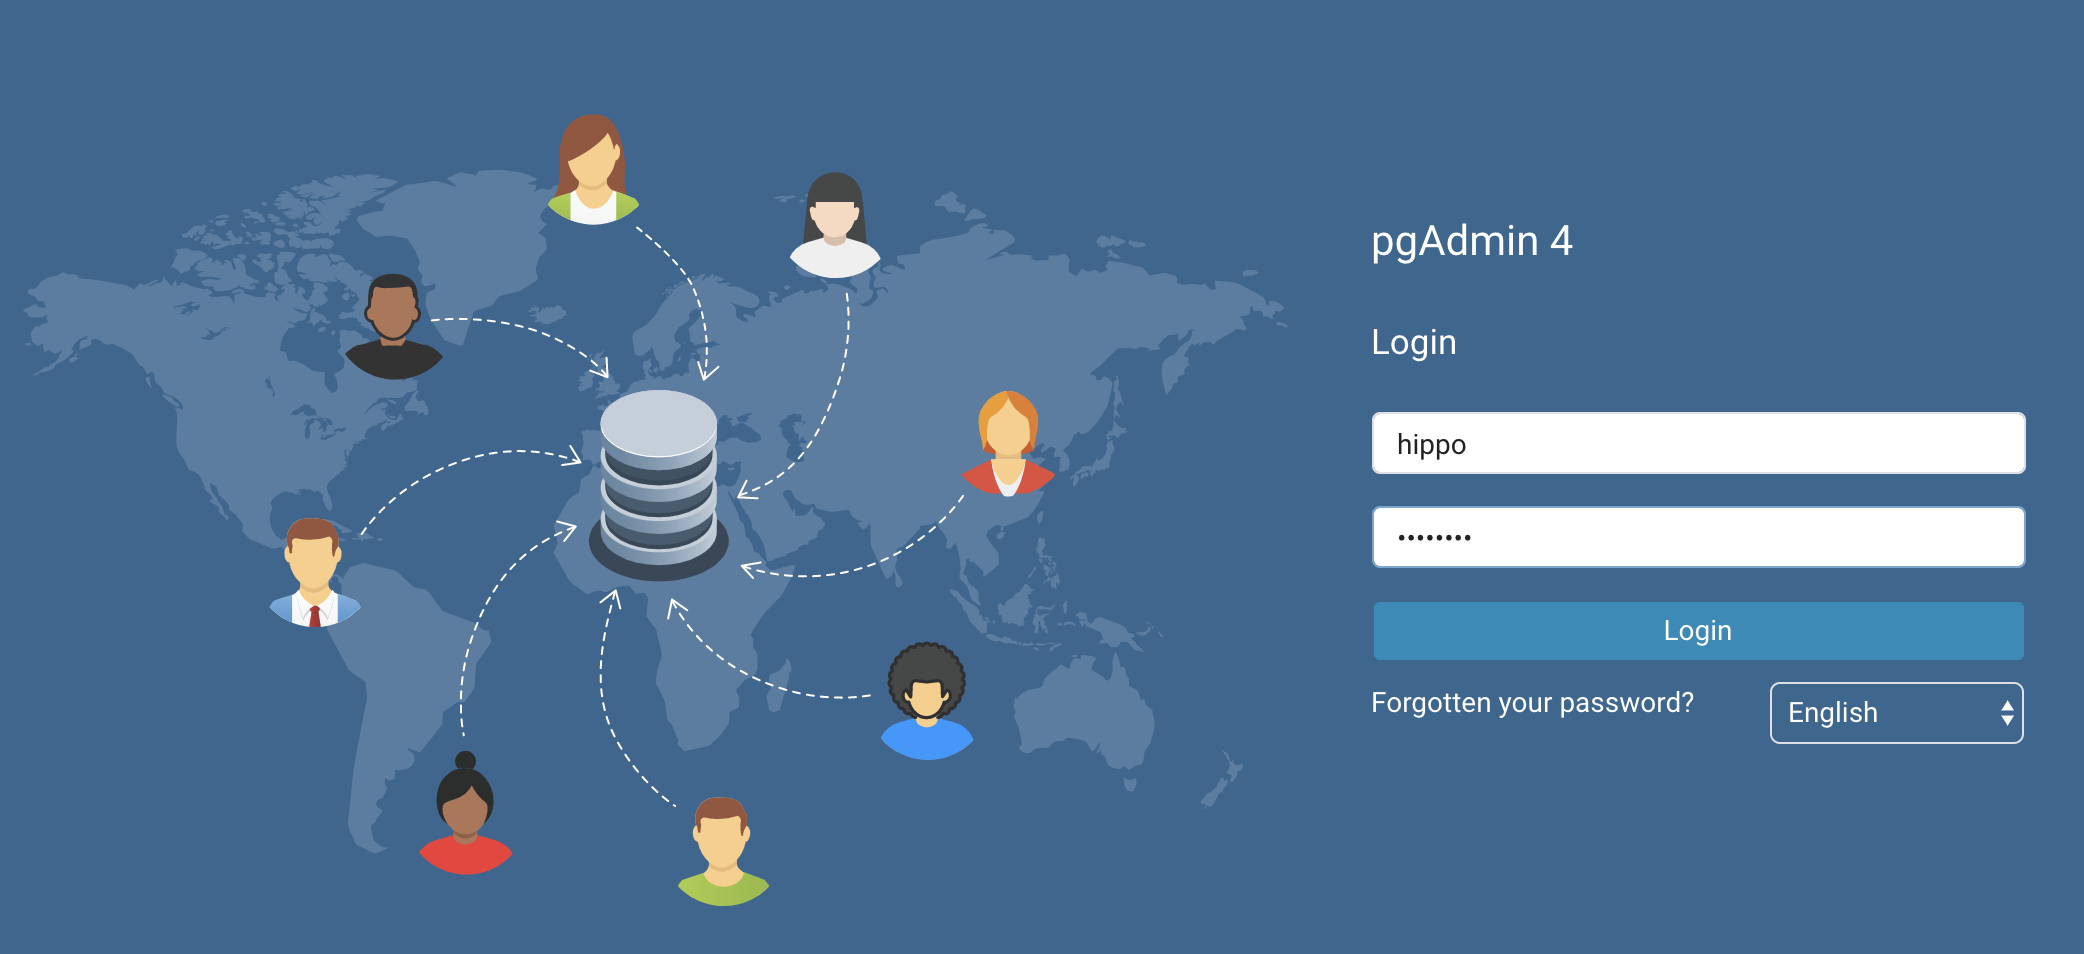
In the login and password fields, put hippo and datalake respectively and click "Login." This will bring you to the pgAdmin 4 dashboard.
From there, we need to set up the connection to the PostgreSQL 12 container. In the left navigation area, right click on "Servers", hover over "Create", and select "Server...":
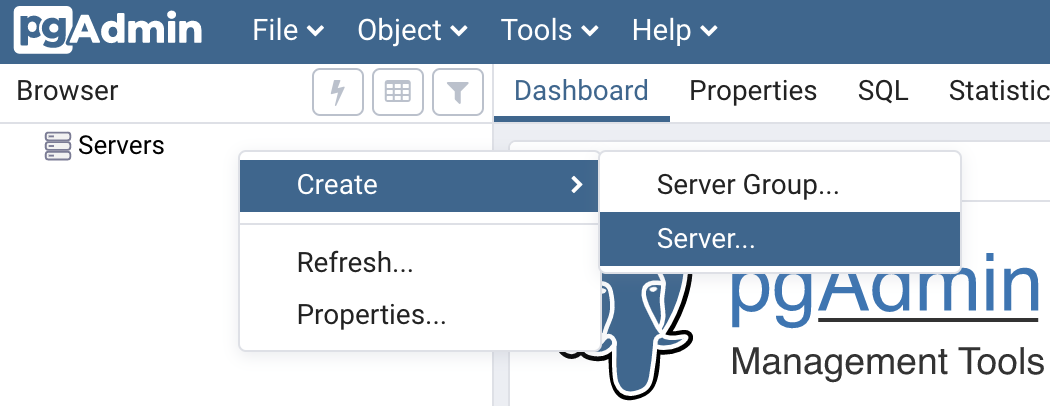
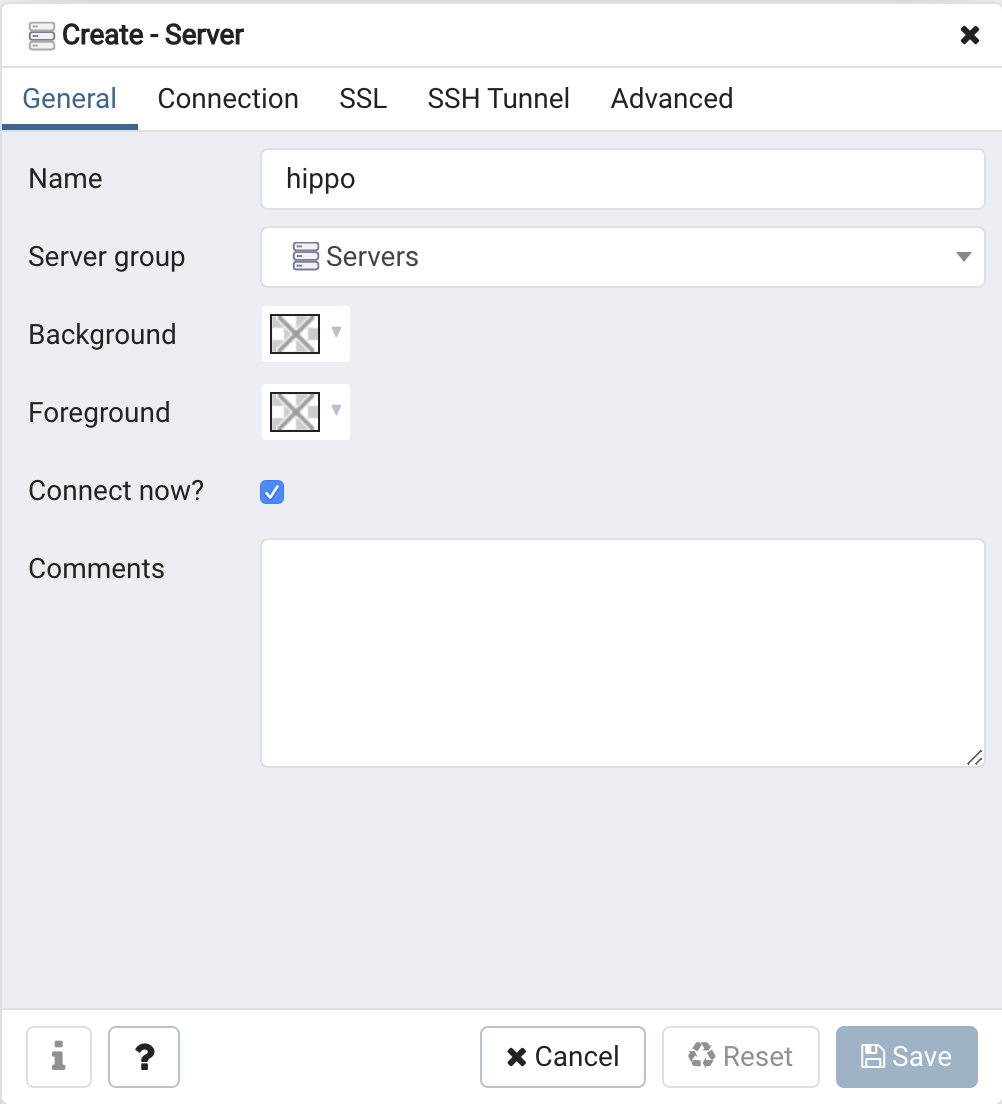
A modal window pops up that requests for information related to connecting to a PostgreSQL server. Let's pick a unique name for this server -- based on the pattern we've used so far, we're going to call it hippo:
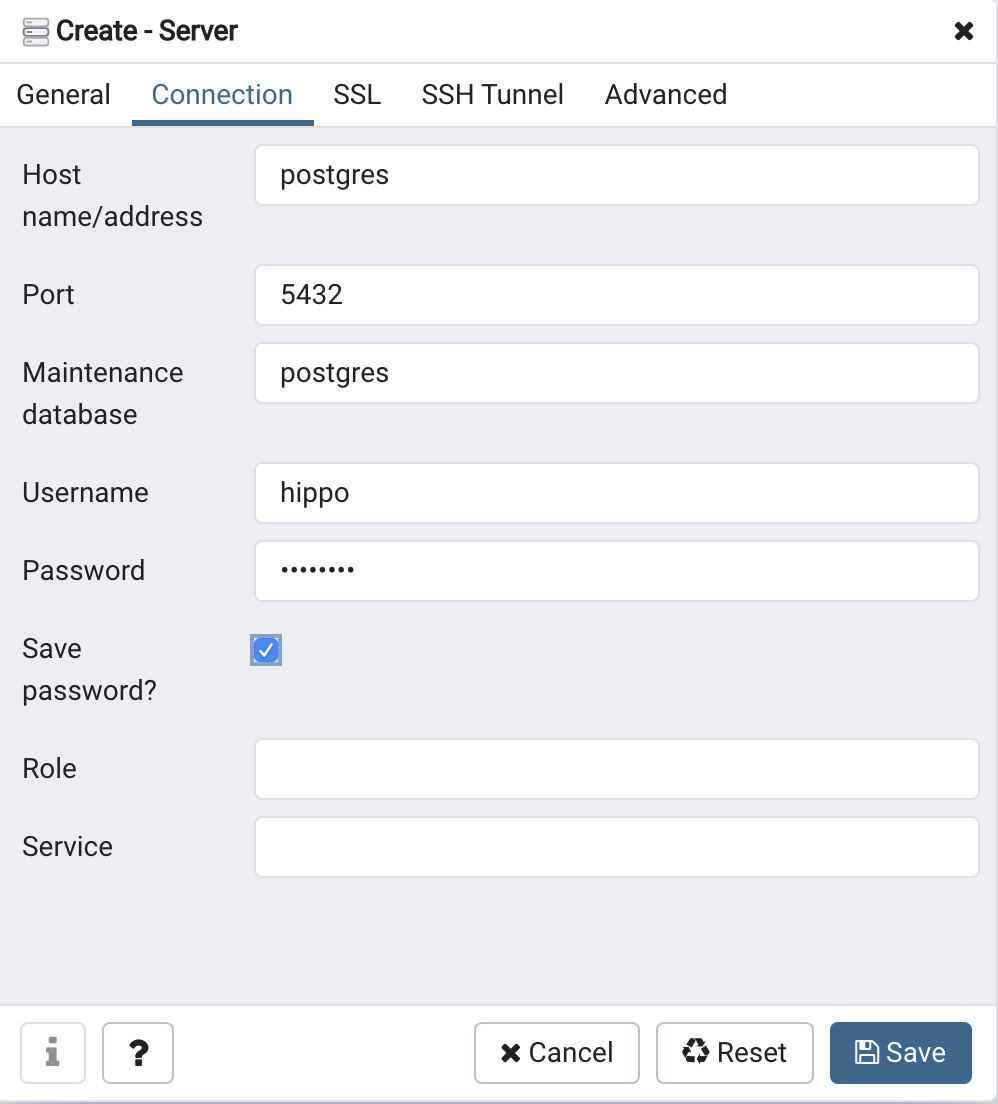
Click on the "Connection" tab. Some of the information is already filled in, but we need to insert a few key elements.
- Hostname: Recall that we gave the container a hostname of
postgres-- we can use that here, instead of specifying a specific IP address. Remember creating thepgnetworkbridge network? This is where that step pays off! - In the username section, type "hippo"
- In the password section, type "datalake"
- Check "Save Password"
When you are finished filling out that information, the modal should look like this:
You can now click "Save". You should now be connected to the PostgreSQL 12 database you've created!
Working with pgAdmin 4: An Example with Table Partitioning
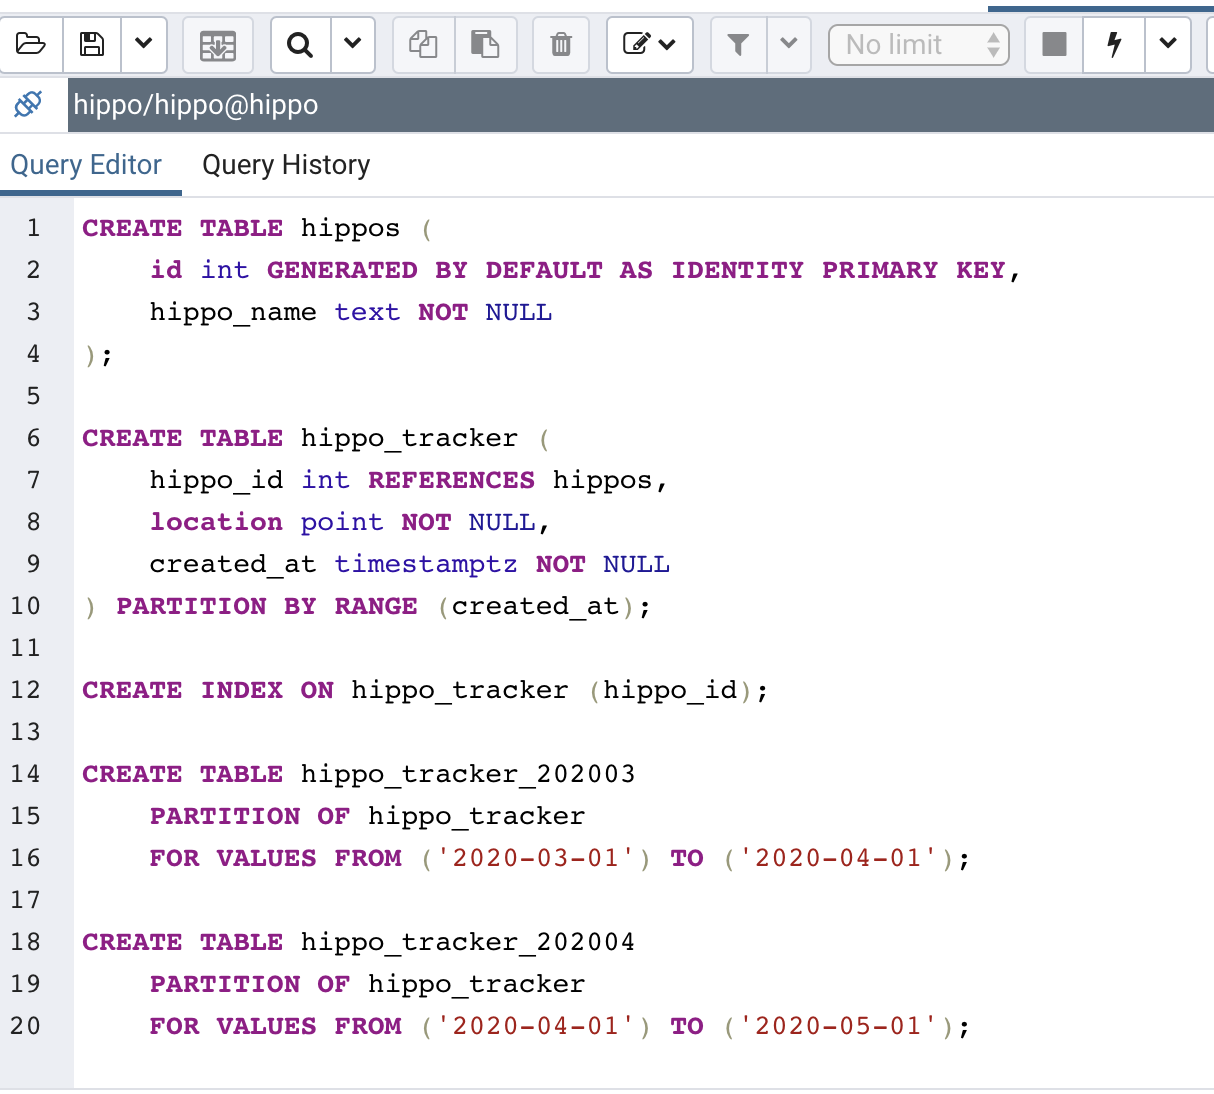
Now that we have our PostgreSQL 12 and pgAdmin 4 environment set up, let's work with some data! One feature that has improved significantly since PostgreSQL 10 is its support for table partitioning. I decided to build out an example that uses table partitioning for tracking hippo migration patterns, you can view the schema below:
CREATE TABLE hippos (
	id int GENERATED BY DEFAULT AS IDENTITY PRIMARY KEY,
	hippo_name text NOT NULL
);

CREATE TABLE hippo_tracker (
	hippo_id int REFERENCES hippos,
	location point NOT NULL,
	created_at timestamptz NOT NULL
) PARTITION BY RANGE (created_at);

CREATE INDEX ON hippo_tracker (hippo_id);

CREATE TABLE hippo_tracker_202003
	PARTITION OF hippo_tracker
	FOR VALUES FROM ('2020-03-01') TO ('2020-04-01');

CREATE TABLE hippo_tracker_202004
	PARTITION OF hippo_tracker
	FOR VALUES FROM ('2020-04-01') TO ('2020-05-01');
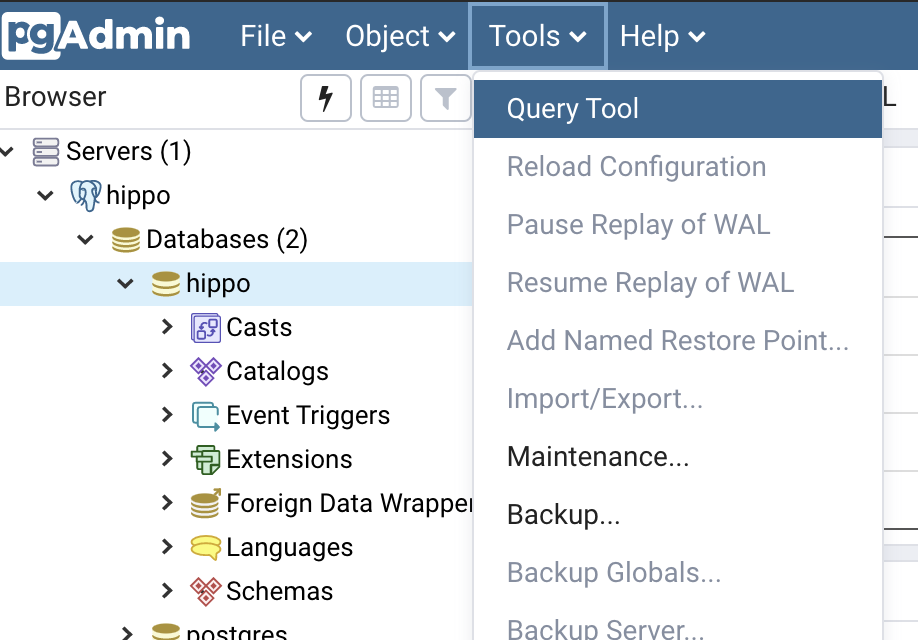
To create this table, in pgAdmin 4, click on the "Tools" menu and select "Query Tool":
This opens up the query tool. You can paste the above code block in there, and click the ⚡️ icon to execute the query:
Now let's populate the hippo tracker. Below is a query that inserts the name of some famous hippos into our database:
INSERT INTO hippos (hippo_name)
VALUES
	('fiona'), ('huberta'), ('tony');

INSERT INTO hippo_tracker (hippo_id, location, created_at)
SELECT
    hippos.id, point(-1 - random(), 34 + random()), d
FROM hippos,
    LATERAL generate_series('2020-03-01 00:00', LEAST(CURRENT_TIMESTAMP, '2020-04-30 23:59:59'), '15 minutes'::interval);
And here is a block that will generate some timings and coordinates of how these hippos are migrating! Can you figure out the region that these hippos live?
(I will take the time to note two things:
- This data set is really small and does not need to be partitioned in a production system, but I wanted to have an excuse to demonstrate this feature
- For production spatial systems, you will want to use PostGIS)
Let's see if the partitioning works. If I want to see where the hippos were any time before March 8, 2020, will it only scan the "March 2020" table? Yes! Here is the output from using EXPLAIN, which shows the query plan:
EXPLAIN
SELECT *
FROM hippo_tracker
WHERE created_at < '2020-03-08';

Cleanup
Once you're done with this example, you can clean up fairly easily. The following stops and removes the containers, as well as removes the volumes and network:
docker stop postgres pgadmin4
docker rm postgres pgadmin4
docker volume rm postgres pgadmin4
docker network rm pgnetwork
Conclusion
Docker makes it very easy to test things in your local development environment, though, based on the container images you are using, there may be a bit of set up work. However, the set up using containers can often pale in comparison to other installation methods, as containers conveniently package the requirements for getting a program up and running.
The next step is working with these methods at scale, such as using a container orchestration framework like Kubernetes. Running PostgreSQL on Kubernetes comes with its advantages and challenges, but with the PostgreSQL Operator, you can synchronize how to deploy PostgreSQL with pgAdmin 4 on Kubernetes.